zkWASM Playground
The Delphinus Lab Service Explorer provides a convenient user interface to:
- Submit Web Assembly images where zkWasm generates zkSNARK circuits for the image.
- Prove a Web Assembly image execution.
- Deploy a verification contract on an Ethereum Testnet.
To interact with Delphinus Lab service install metamask as a browser extension and obtain some testnet coins.

Paste the below example C source in to WasmFiddle and hit the Build button in the top center of the page.
unsigned long long wasm_input(int); // external host api for fetch user inputs.

int zkmain() {
  int sum = wasm_input(1);
  int b = sum + 2;
  return b + 1;
}
Save the build application as example.wasm to a local directory on your machine.
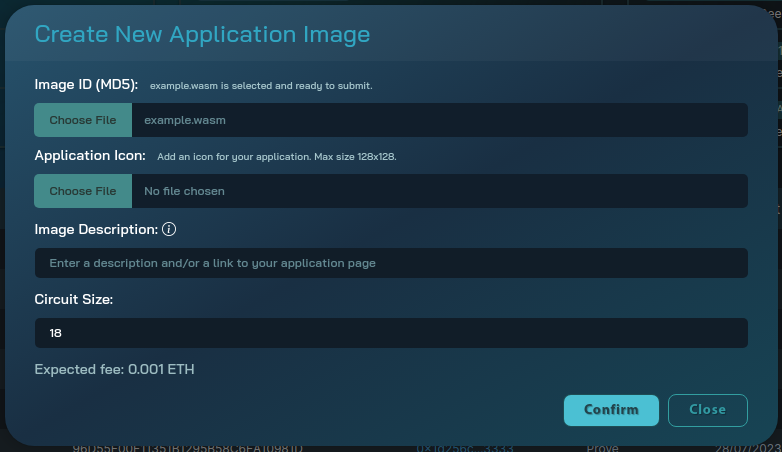
Submitting a New Application:
Using upper right task bar on Delphinus Lab Service Explorer click Create New Application and upload the example.wasm in the “Image ID (MD5)” field.
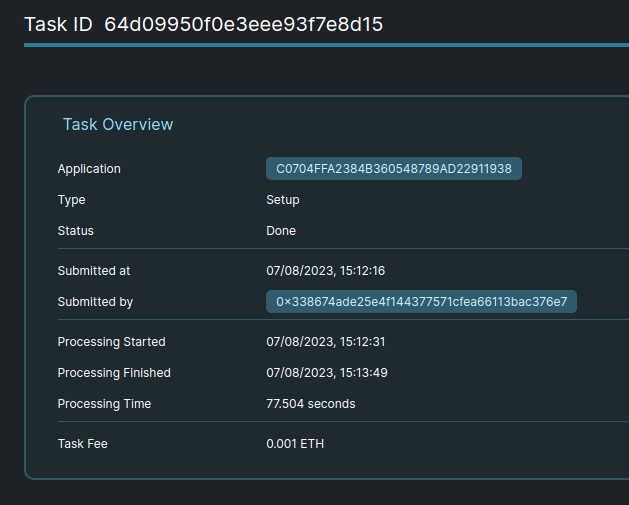
Setup Phase:

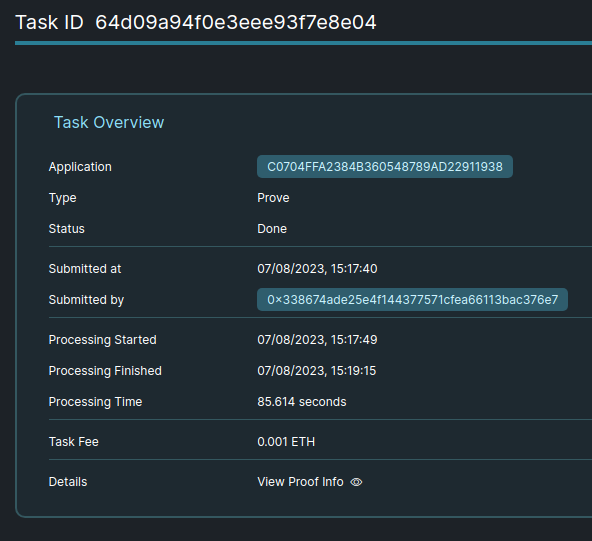
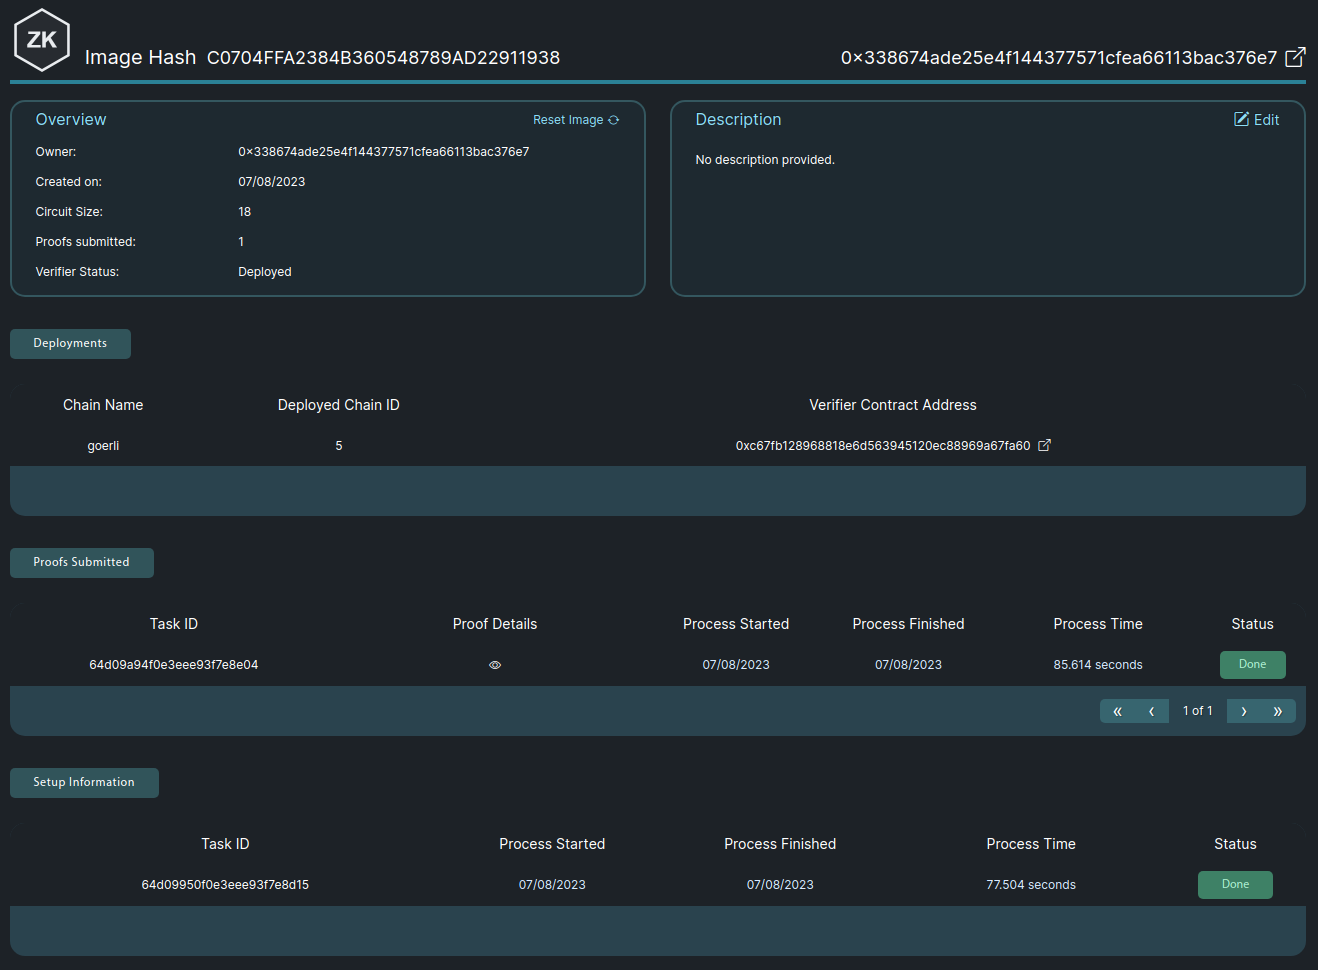
You can see that the TASK ID 64d09a94f0e3eee93f7e8e04 has moved from “Processing” to the “Done” state.


Inspecting the task in the explorer shows the Application Image Hash: B246F9E85B9D392B0A33374974A2CA23, and the Setup phase Status as “Done”.
Submit a Proof:
At the top of the explorer, hit “Submit Prove Task”, a new popup window will appear to create a new prove task. In the Image hash part input the application hash. In this example it is: C0704FFA2384B360548789AD22911938. With the image hash input the public input you can enter should be an integer 64-bit type, here for this example we are using the value 112, input: 112:i64.
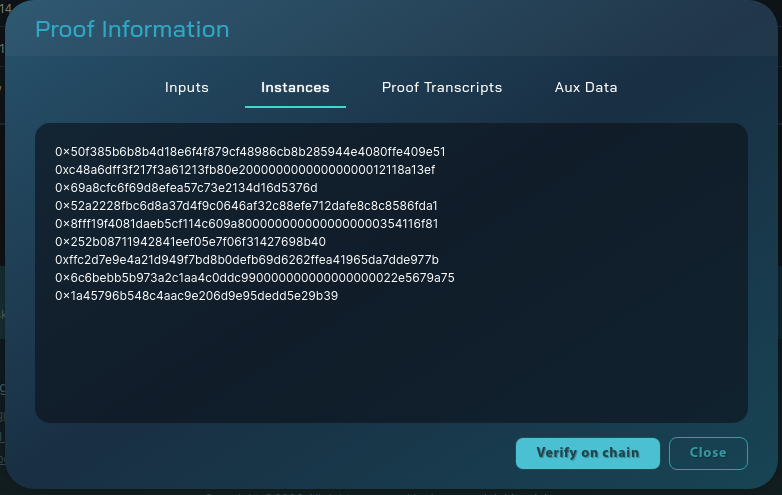
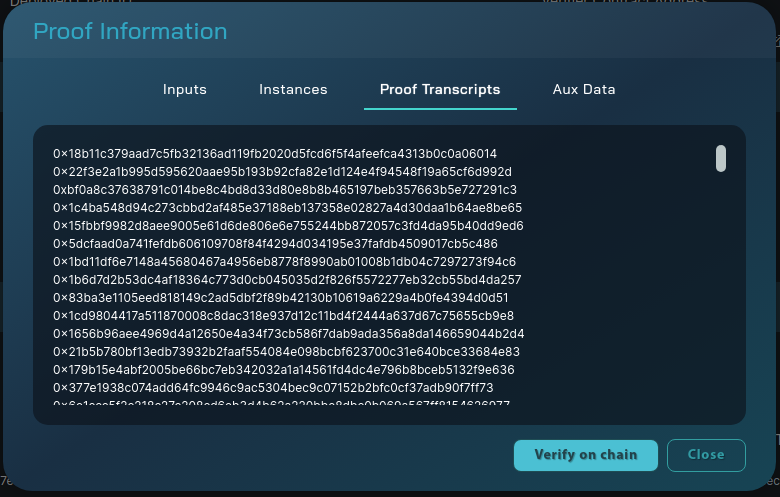
You can view the “Proof Info” details which contains the inputs, transcripts, auxiliary data (for batch field dividing in smart contracts) and instances of the proof batching circuits:
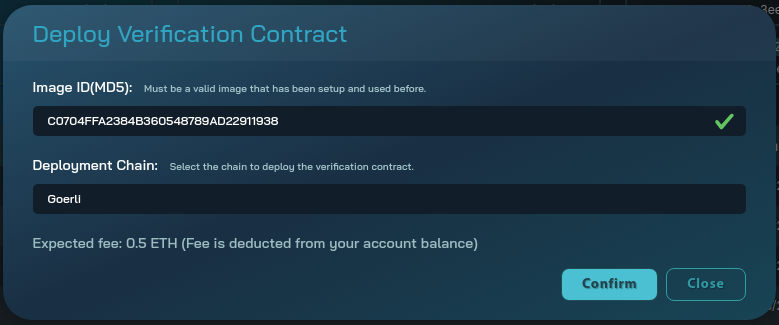
Deploying a Verification Contract:
One the application has been Setup and has a Proof generated, a verification contract can be deployed on one of the Ethereum testnets. Hit the “Deploy Verification Contract” at the top of the explorer. Input the Image ID, in this case C0704FFA2384B360548789AD22911938 and choose a test network to deploy to. Hit “Confirm”.
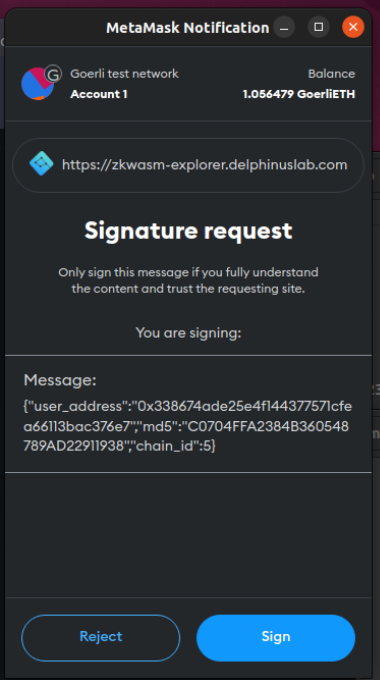
Sign the transaction and wait for the verification contract to be deployed.
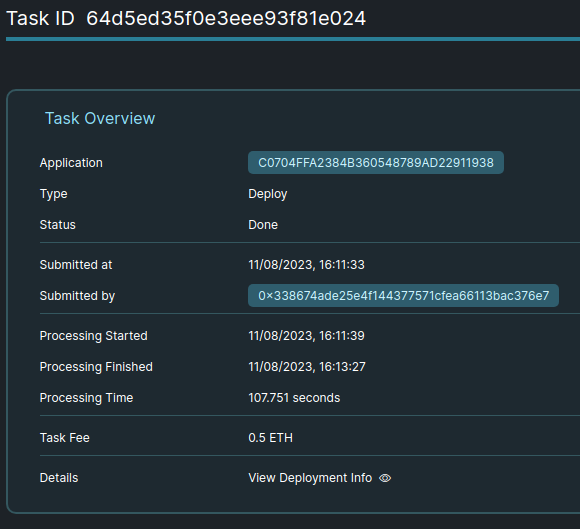
In the main window of the explorer the deployment task can be seen as “Processing”,

and after a short amount of time the status of this task is “Done”.

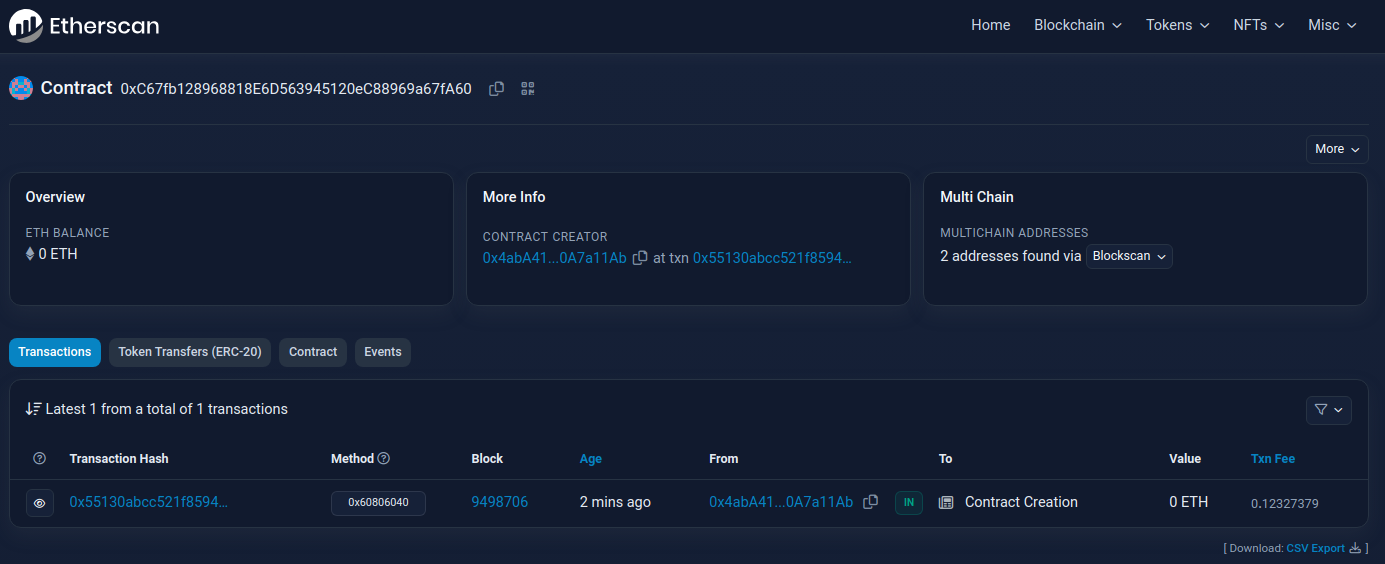
The Deployment Info shows a “Details section” with the address of the contract,
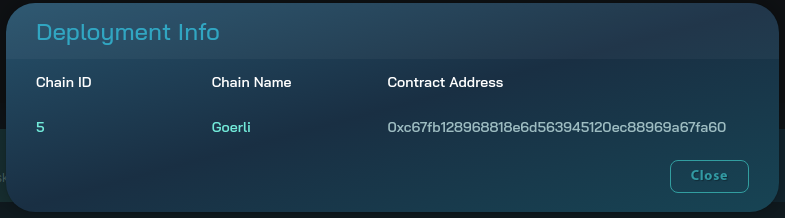
This can be seen on etherscan:
With the verification contract deployed we can verify the proof on chain with the “Verify on Chain” facility. Within the proof section of the image in the explorer, select the Task ID for the proof, to view the proof task, then select “View Proof Info”.
Hit the Verify on Chain button, sign the transaction, in some time the transaction receipt should should produce a successful on chain verification.
Verification transaction successful! Transaction hash: 0x64f0c91ff3687541c674d9324a5869c9734f4729799869217e5640cda353f255